Pre-Commit Hooks - A Practical Setup Guide for 2026
How to set up pre-commit hooks with the pre-commit framework and Husky, which checks belong local versus CI, and how to keep hooks fast enough that no one skips them.
Published:
What pre-commit hooks are and why they matter
A pre-commit hook is a script git runs automatically right before it records a commit - if the script fails, the commit is blocked, so a problem gets fixed before it ever enters your history. Git supports a whole family of hooks, but pre-commit is the one that matters most because it is the earliest automated checkpoint a developer hits. It is the first stop on the shift-left security journey - the moment where a formatting slip, a lint error, or an accidentally committed API key can be caught for essentially zero cost.
The value is speed of feedback. Without hooks, a developer commits, pushes, waits for CI, and finds out minutes later that the build failed on a formatting rule. With a pre-commit hook, that same failure surfaces in two seconds, on their machine, before the commit exists. Multiply that across a team and hooks eliminate a huge volume of trivial CI failures and the review-thread noise that comes with them - the kind of bikeshedding that clogs pull requests. This guide walks through setting them up with the two dominant tools and, just as importantly, deciding what belongs in a hook versus in CI.
Option A - the pre-commit framework (language-agnostic)
The pre-commit framework is a Python tool that manages hooks for any language. It is the right default for polyglot repositories because it installs each hook’s dependencies in an isolated environment, so a Python repo can run a JavaScript formatter without you managing that toolchain by hand.
Step 1 - install it.
# Illustrative
pip install pre-commit
# or on macOS
brew install pre-commit
Step 2 - add a config. Create .pre-commit-config.yaml at the repo root. Each entry points at a repo of hooks and lists which ones to run:
# Illustrative .pre-commit-config.yaml
repos:
  - repo: https://github.com/pre-commit/pre-commit-hooks
    rev: v4.6.0
    hooks:
      - id: trailing-whitespace
      - id: end-of-file-fixer
      - id: check-added-large-files
      - id: detect-private-key
  - repo: https://github.com/astral-sh/ruff-pre-commit
    rev: v0.5.0
    hooks:
      - id: ruff        # lint
      - id: ruff-format # format
Step 3 - install the git hook. Run pre-commit install once. This wires the framework into .git/hooks/pre-commit, so from now on every git commit runs your configured checks against the staged files only.
Step 4 - run it across the repo the first time. pre-commit run --all-files applies the hooks to the whole codebase so you start from a clean baseline instead of failing on old files.
Because the config is committed, every teammate gets the identical hook set the moment they run pre-commit install. That consistency is the point - hooks that only exist on one laptop protect no one.
Option B - Husky (JavaScript-centric)
For Node projects, Husky is the standard. It is usually paired with lint-staged so checks run only against staged files rather than the whole repo, which keeps commits fast.
Step 1 - install both.
# Illustrative
npm install --save-dev husky lint-staged
npx husky init
husky init creates a .husky/pre-commit script and adds a prepare script to package.json so hooks install automatically after npm install.
Step 2 - point the hook at lint-staged. Put this in .husky/pre-commit:
npx lint-stagedStep 3 - configure lint-staged in package.json to map file globs to commands:
{
  "lint-staged": {
    "*.{js,ts,tsx}": ["eslint --fix", "prettier --write"],
    "*.{css,md}": "prettier --write"
  }
}
Now a commit runs ESLint and Prettier against only the JavaScript and TypeScript files you actually staged. Scoping to staged files is what keeps the hook under the few-second budget that keeps developers from bypassing it.
What belongs local versus in CI
The single most important design decision is the split between what runs in the hook and what runs in CI - get it wrong and developers will disable your hooks entirely. A pre-commit hook shares the developer’s terminal and their patience, so it must be fast and deterministic. CI has minutes to spare and should carry everything heavy.
| Check | Pre-commit hook | CI |
|---|---|---|
| Code formatting | Yes | Verify only |
| Lint changed files | Yes | Full lint |
| Secrets scanning (staged) | Yes | Full-history scan |
| Fast syntax and type checks | Yes | Yes |
| Full test suite | No | Yes |
| Deep SAST / dependency scan | No | Yes |
| Build and integration tests | No | Yes |
The principle - the hook catches the cheap, obvious mistakes in seconds; CI is the authoritative gate that runs the slow, comprehensive checks. A hook is a fast filter, not a replacement for CI. This mirrors the layering in any healthy CI/CD pipeline, where fast local feedback and thorough remote gating each do their own job. Never move the full test suite into a pre-commit hook - a thirty-second commit is a hook everyone will bypass with --no-verify.
Which security and quality checks to add
Beyond formatting and linting, a few higher-value checks earn their place in the local flow.
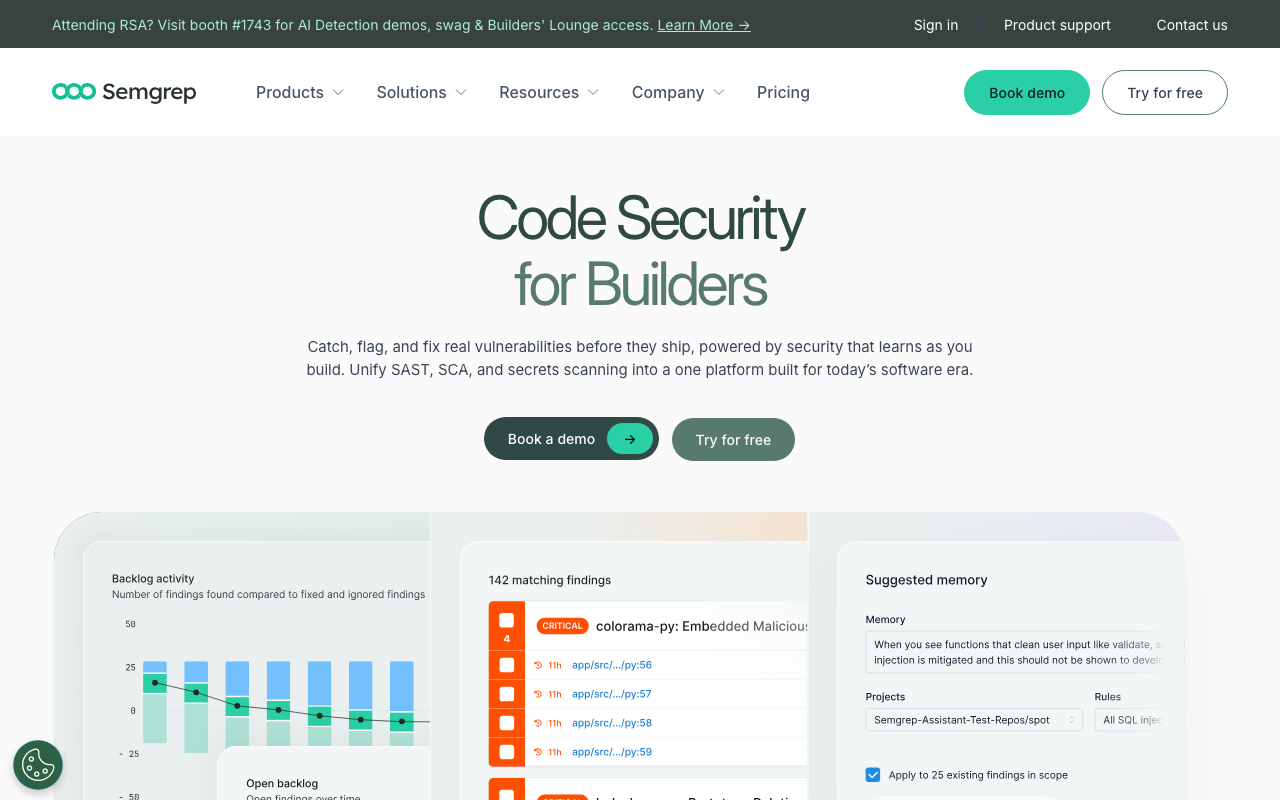
Semgrep has an official pre-commit hook and runs fast enough on staged changes to catch obvious security anti-patterns before they leave the machine, without waiting for the deeper CI scan. Its diff-aware mode means it looks only at what changed. Our Semgrep CLI tutorial covers the local workflow, and the full CI gate is in the Semgrep GitHub Action guide.
Secrets detection is the highest-value hook you can add. A committed credential is one of the most common and most damaging self-inflicted incidents, and a secrets scanning hook stops it at the earliest possible point. Both the pre-commit framework and Husky can wire one in with a single config entry.
For deeper analysis, tools like DeepSource and Sourcery run their heavier static analysis and refactoring suggestions in CI and the pull request rather than in the commit hook - which is exactly right. Keep the hook light and let those platforms handle the thorough pass where latency does not hurt anyone.
Keeping hooks fast enough that nobody skips them
A hook that developers routinely bypass with --no-verify provides zero protection, so speed is not a nice-to-have - it is the whole game. Scope every check to staged files, not the whole repository. Prefer incremental, cache-friendly tools. Move anything that takes more than a couple of seconds into CI. And treat a rising rate of --no-verify as a bug in your hook configuration, not a discipline problem with your team. The best pre-commit hook is the one so fast that skipping it never crosses anyone’s mind.
Conclusion
Pre-commit hooks are the cheapest quality gate you own - a two-second local check that stops formatting drift, lint errors, and committed secrets before they ever reach a pull request. Use the pre-commit framework for polyglot repos or Husky with lint-staged for Node projects, commit the config so the whole team shares it, and above all keep the split right - fast deterministic checks in the hook, slow comprehensive ones in CI. Add a secrets scanner and a fast Semgrep pass for real security value, keep everything scoped to staged files, and your hooks will stay fast enough that nobody reaches for --no-verify.
Further reading
 Gitar
GitarComments are not enough
Gitar applies the fix, validates it in CI, and clears the queue.
See it on your repo Read our independent Gitar reviewFrequently Asked Questions
What is a pre-commit hook?
A pre-commit hook is a script that git runs automatically before a commit is finalized. If the script exits with an error, the commit is aborted, giving the developer a chance to fix the problem before the bad code ever enters history. Teams use pre-commit hooks to run fast checks like formatters, linters, and secrets scanners on the files being committed, so obvious issues are caught locally in seconds instead of failing a CI build minutes later.
What is the difference between the pre-commit framework and Husky?
Both manage git hooks, but they target different ecosystems. The pre-commit framework is a language-agnostic Python tool configured with a .pre-commit-config.yaml file, and it manages hook dependencies in isolated environments, which makes it strong for polyglot repositories. Husky is a JavaScript-focused tool that lives in your package.json workflow and is usually paired with lint-staged to run checks only on staged files. Choose pre-commit for multi-language repos and Husky for Node-centric projects.
What checks should run in a pre-commit hook versus CI?
Pre-commit hooks should run only fast, deterministic checks that give value in seconds - formatting, linting the changed files, secrets scanning, and quick syntax validation. Slow or comprehensive checks - the full test suite, deep SAST scans, integration tests, and build steps - belong in CI where they can take minutes without blocking a developer's commit. The rule of thumb is that a pre-commit hook should finish in a few seconds, because any slower and developers will start bypassing it.
How do I skip or bypass a pre-commit hook?
You can bypass hooks with git commit --no-verify, or the short flag -n, which tells git to skip the pre-commit and commit-msg hooks for that one commit. This is useful for work-in-progress commits or emergencies, but it should be the rare exception. If developers reach for --no-verify routinely, it is a signal that the hooks are too slow or too noisy, and the fix is to make them faster and scope them to staged files rather than removing them.
Explore More
Tool Reviews
 Semgrep Review
 DeepSource Review
 Sourcery Review
Free Newsletter
Stay ahead with AI dev tools
Weekly insights on AI code review, static analysis, and developer productivity. No spam, unsubscribe anytime.
Join developers getting weekly AI tool insights.
Related Articles
CodeRabbit Commands: Every @coderabbitai Command (2026)
The complete CodeRabbit command reference - review, full review, pause, resume, resolve, ignore, summary, configuration, help - plus how to chat with the bot and when each one is the right call.
August 1, 2026
how-toCodeRabbit Too Noisy? How to Cut the Comments (2026)
An independent audit found 36% of CodeRabbit's comments were nitpicks or useless. Here is the .coderabbit.yaml config, the workflow changes, and the review-frequency settings that fix it.
August 1, 2026
how-toHow to Give Code Review Feedback That Lands - Blocking vs Nitpick (2026)
Practical guidance on giving code review feedback - blocking comments vs nitpicks, tone that keeps authors receptive, and real before-and-after comment examples.
July 28, 2026